
Introduction to ReactJS.
What is ReactJS ?
React is a JavaScript library for creating user interfaces which was developed and maintained by Facebook. It serves as the view of MVC architecture and is suitable for large web applications which use data and change over time without reloading the entire page. It mainly aims at speed, simplicity and scalability.
” All react applications are components. “

What are Components ?
Components are the building blocks of any React application. It basically looks like HTML but its not HTML, its actually JSX (JavaScript XML) which mainly contains a state (data or UI state) and JavaScript for functionality.
These components are independent and reusable. And the combination of these individuals makes an fully fledged React application. Therefore, essentially every React application is a tree of components.
Types of React Components.
1. Functional Components / UI Components.
These components are basically represented by a function that optionally takes props and returns a react element to be rendered to the page.
- Functional
- Presentational
- Stateless
- Dumb
| import React from 'react' | |
| const Users = (props) => { | |
| const { users } = props; | |
| const userList = users.map(user => { | |
| return ( | |
| <div className="user" key={user.name}> | |
| <div>Name : {user.name}</div> | |
| <div>Age : {user.age}</div> | |
| <div>Class : {user.class}</div> | |
| </div> | |
| ) | |
| }); | |
| return ( | |
| <div> | |
| {userList} | |
| </div> | |
| ) | |
| } | |
| export default Users; |
2. Class Components / Container Components.
These components are created using ES6’s class syntax and these components have some additional features such as ability to contain logic and state.
- basically Classes
- Container
- Statefull
- Smart
| import React, { Component } from 'react' | |
| class User extends Component { | |
| state = { | |
| name: null, | |
| age: null, | |
| class: null | |
| } | |
| handleChange = (e) => { | |
| this.setState({ | |
| [e.target.id]: e.target.value | |
| }) | |
| } | |
| handleSubmit = (e) => { | |
| console.log(this.state); | |
| } | |
| render() { | |
| return ( | |
| <div> | |
| <form onSubmit={this.handleSubmit}> | |
| <label>Name : </label> | |
| <input type="text" id="name" onChange={this.handleChange} /> | |
| <label>Age : </label> | |
| <input type="text" id="age" onChange={this.handleChange} /> | |
| <label>Class : </label> | |
| <input type="text" id="class" onChange={this.handleChange} /> | |
| </form> | |
| </div> | |
| ) | |
| } | |
| } | |
| export default User |
Notable Feactures of React.
Props and State
Props are used to pass data and behaviours from container components to child components. Props are read only.
State is used to keep data which can be updated. State is read write enabled.
One way data flow.
Data flow from the parent component to the child component and Action flow from child component to parent component.
Parent Component
import React, {Component} from 'react'
import viewUserDetails from './viewUserDetails'


class User extends Component{
 state = {
   name: 'romesh',
   age: '25',
   class: 'SE'
}
 render(){
   return(
     <div>
        <viewUserDetails userDetails = {this.state} />
     </div>
   )}
}

export default User
Child Component
import React, {Component} from 'react'

const ViewUserDetails = (props) => {

 return(
   <div>
      <div> Name  : {props.name}  </div>
      <div> Age   : {props.age}   </div>
      <div> Class : {props.class} </div>
   </div>
 )
}

export default ViewUserDetails
Virtual DOM.
DOM manipulation is costlier. Therefore, react creates a virtual DOM tree and compare it with the rendered tree and update only what is changed.
JSX
JSX is the ReactJS language for defining user interfaces. It prevents cross-site scripting attacks by converting expressions to strings.
Okey. Now, since we got the basic idea about what ReactJS is and what special features it posses, let’s move on to creating our first app using ReactJS.
Creating First React App.
The simplest way of creating a react app is by using the create-react-app package.
- step 1 – create a folder.
- step 2 – Navigate into the folder from cmd or terminal
- step 3 – enter the following command
npx create-react-app myapp
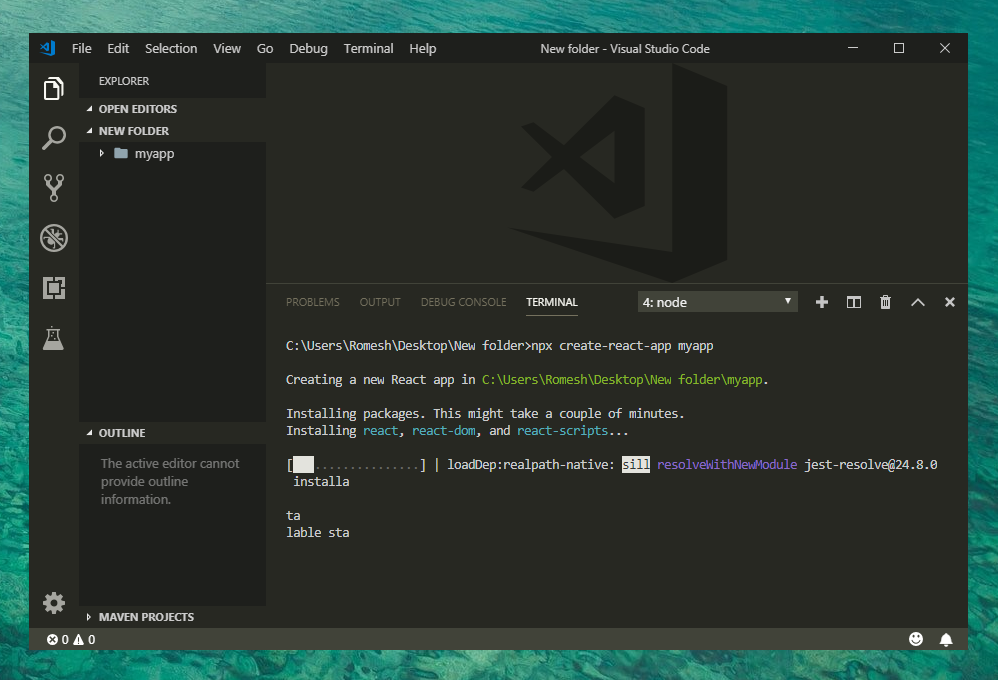
After the creation, we can use the following command npm start inorder to start a local development server. (This command should be enterd after navigating inside into the newly created app using the terminal or cmd)
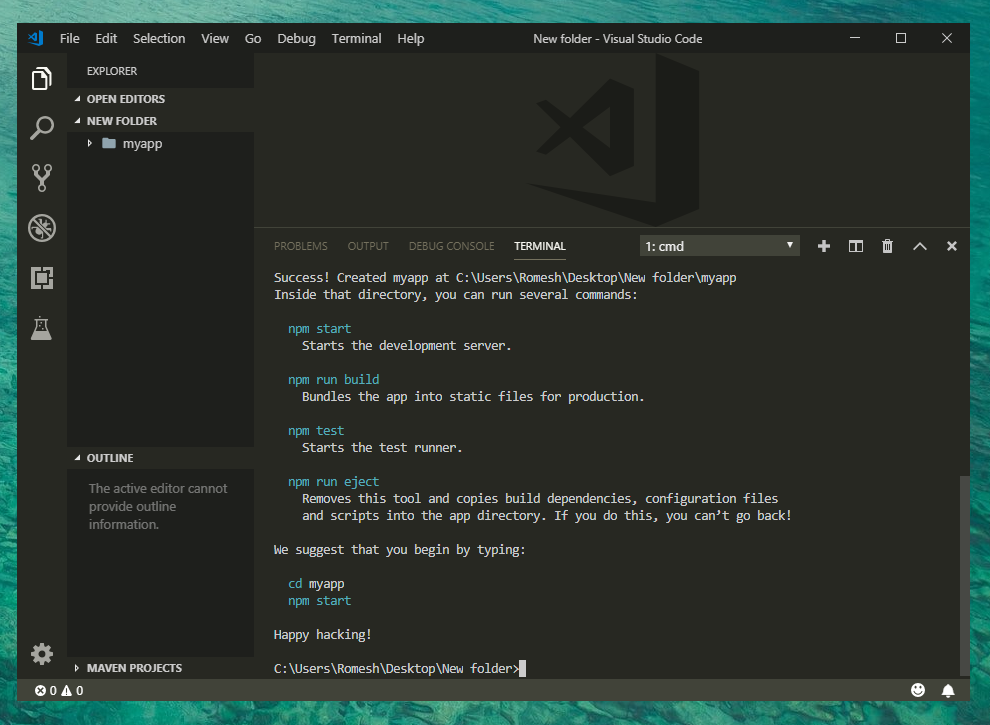
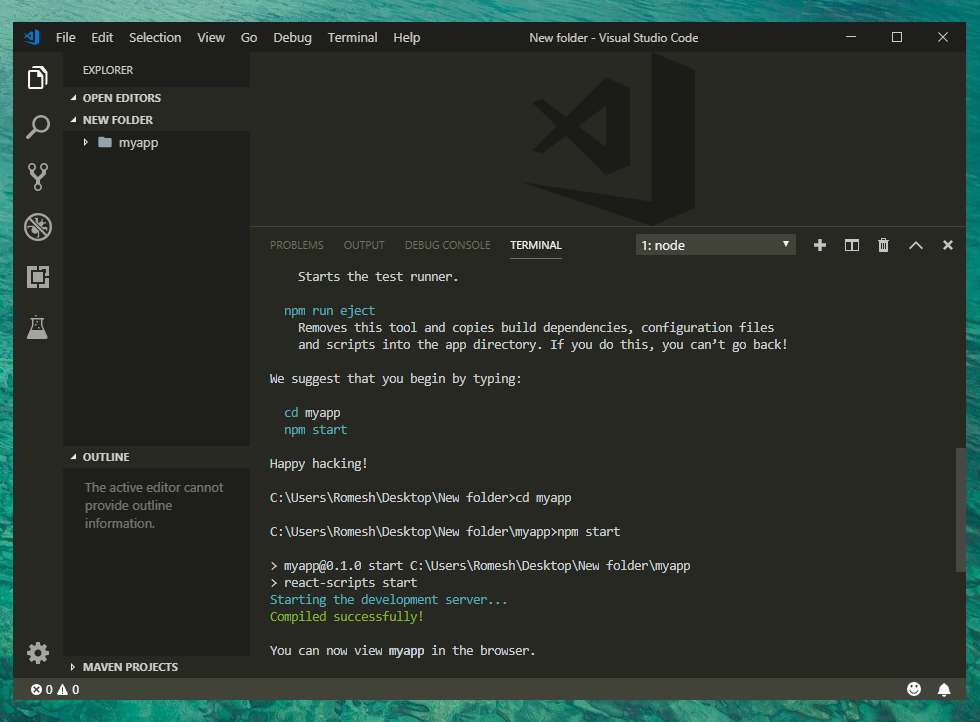
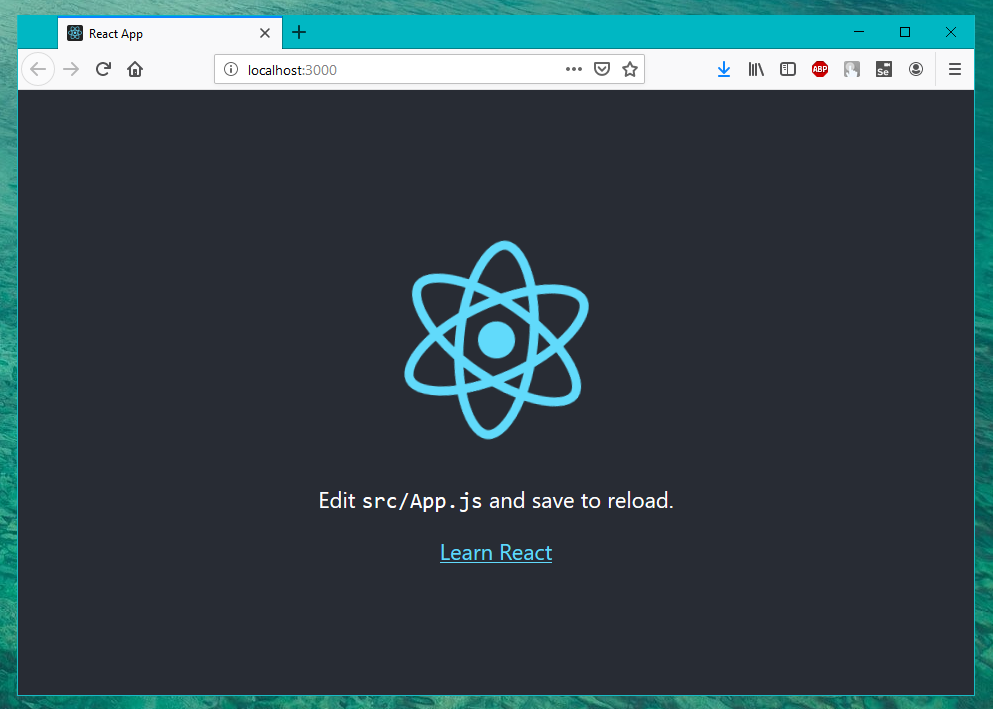
Voilà , You have successfully created your first React app. 🤩
And thats it for the Introduction to ReactJS. Hope you have got the basic idea of what ReactJS is, about its core features and how to get start with ReactJS.
Thanks for reading! ❤️
If you have any queries regarding this article, feel free to comment out in the comment section below or contact me on twitter.
If you need to learn more about ReactJS and its advanece concepts please refer my ReactJS Course on GitHub.


